Saturday, September 16, 2006

Juno: Capture Point 1 (the beach)

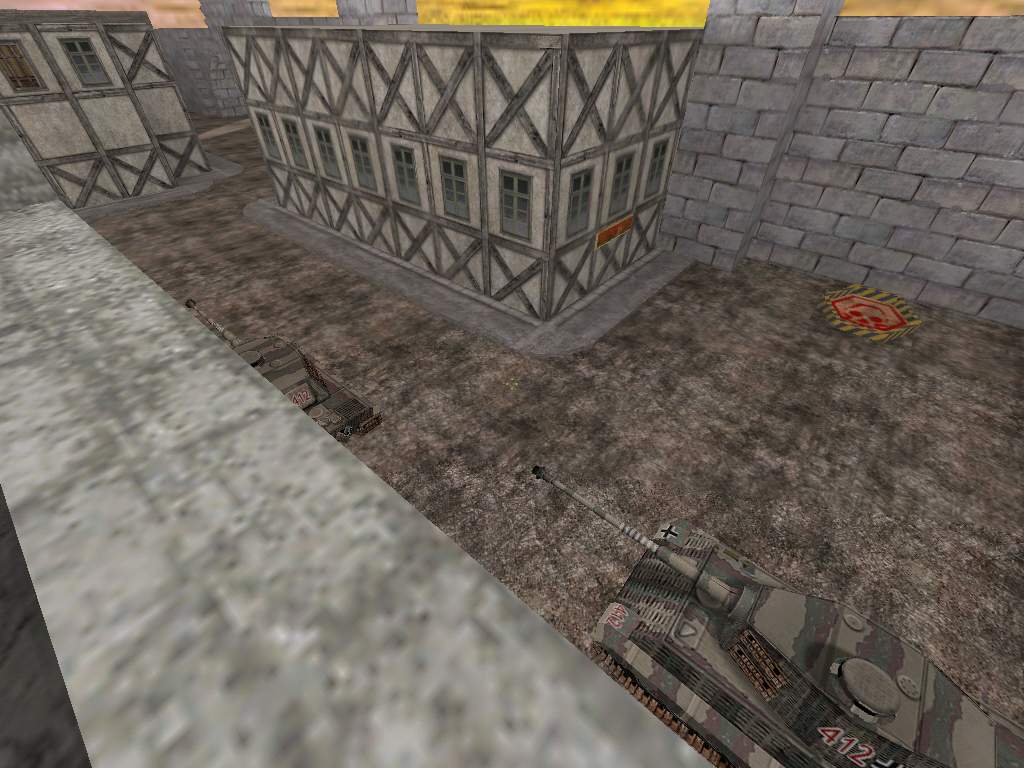
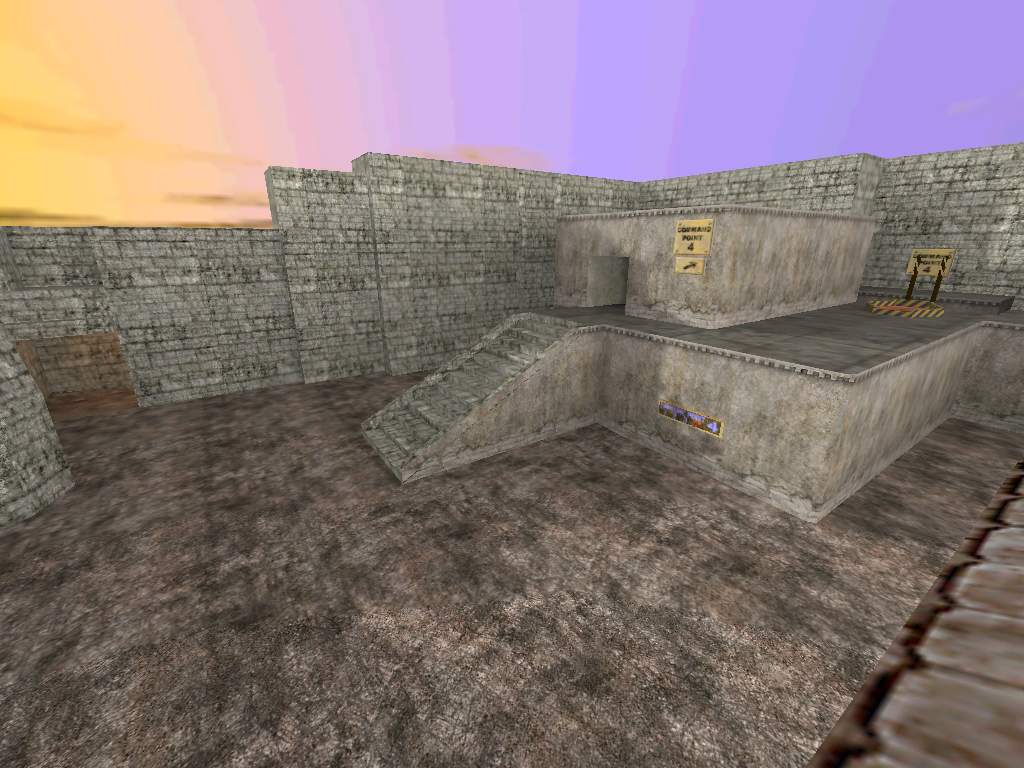
If the map looks familiar to you, it is a remake of my first attack/defend style map called Navarone. Nav was a pretty bad map, but it was my first AD map and I always wanted to redo it because I liked some features and I have learned a lot since then. Juno uses the same beach area but the rest of the map is entirely new. Attackers start out by jumping out of a C-47 plane and attacking the beach area, then move further onto the island castle to the 4th capture point at the Juno headquarters, at which point the teams switch (Avanti-style). Although there are some places where caps have been held long in playtesting, a decent offense should be able to make relatively short work of most of the capture points, making this map relatively offense-oriented. The long holds I observed during the many playtests were due mostly to uncoordinated offensive strategies. There is 1 grenade bag that becomes unavailable at the midway point when cap 2 is capped.

The offense spawns in the C-47:


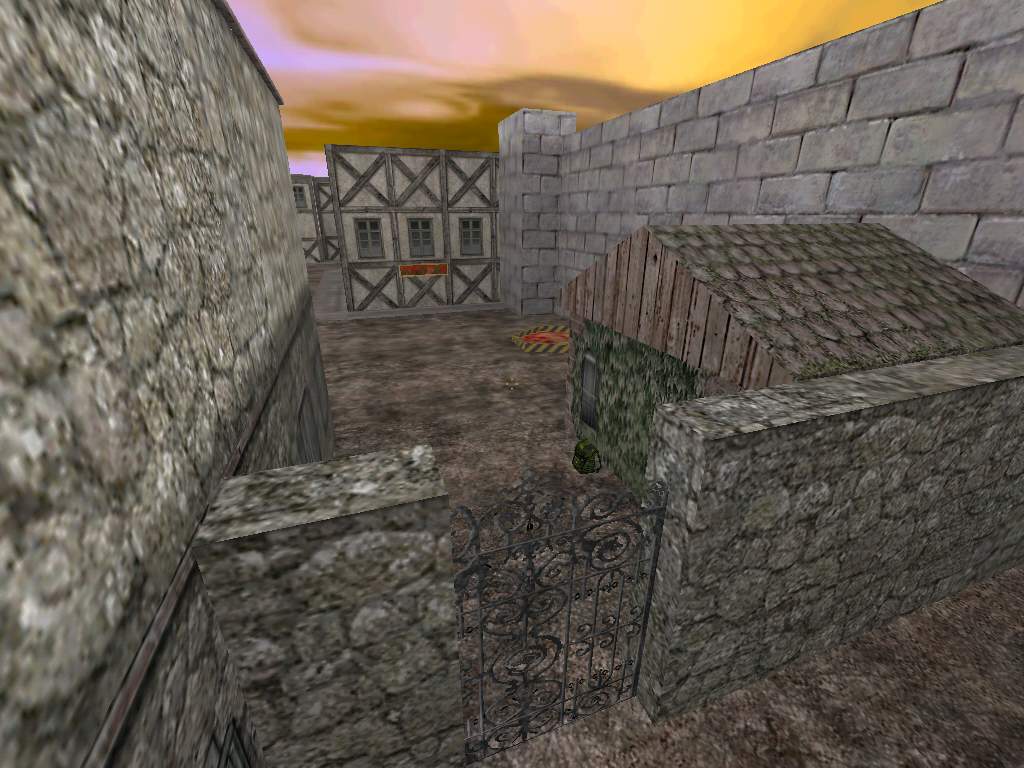
Defense spawns outside the main entrance to the castle. This is where a grenade bag is located that comes in handy for caps 1 and 2:


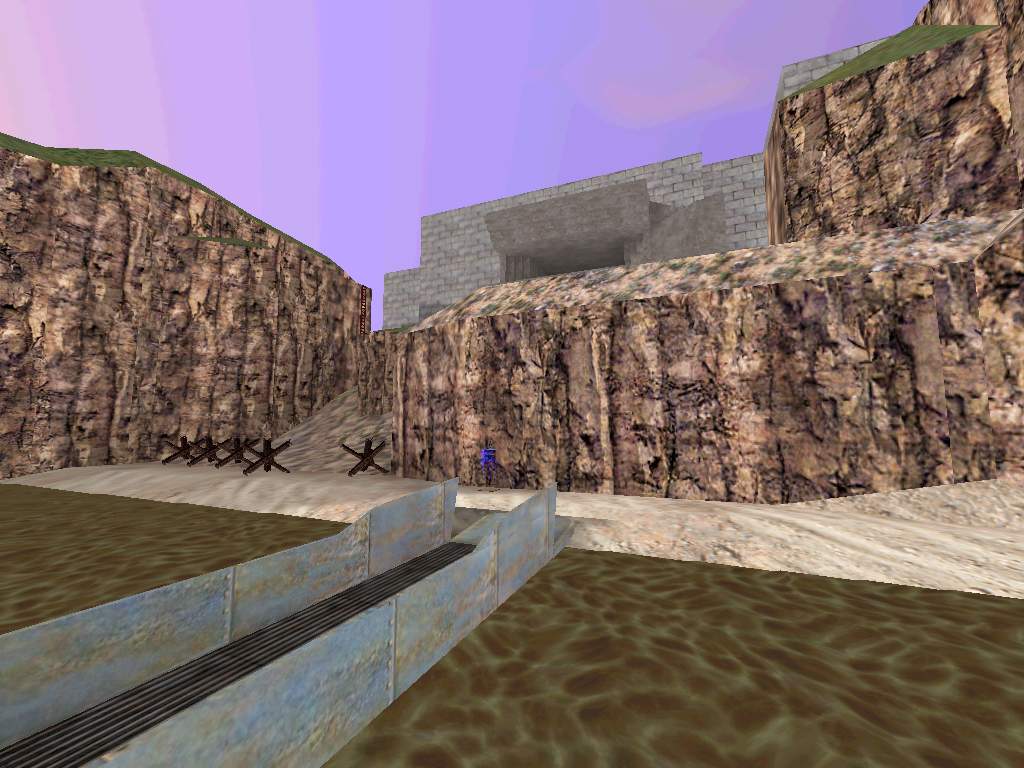
The next pic is from the point of view of where the attackers land in the water. With some skill, attackers can direct their fall into the boat or further towards the beach as they desire. The blue flag on the beach in front of the boat needs to be taken up the beach behind that concrete bunker above it:


Another view of the bunker and flag:


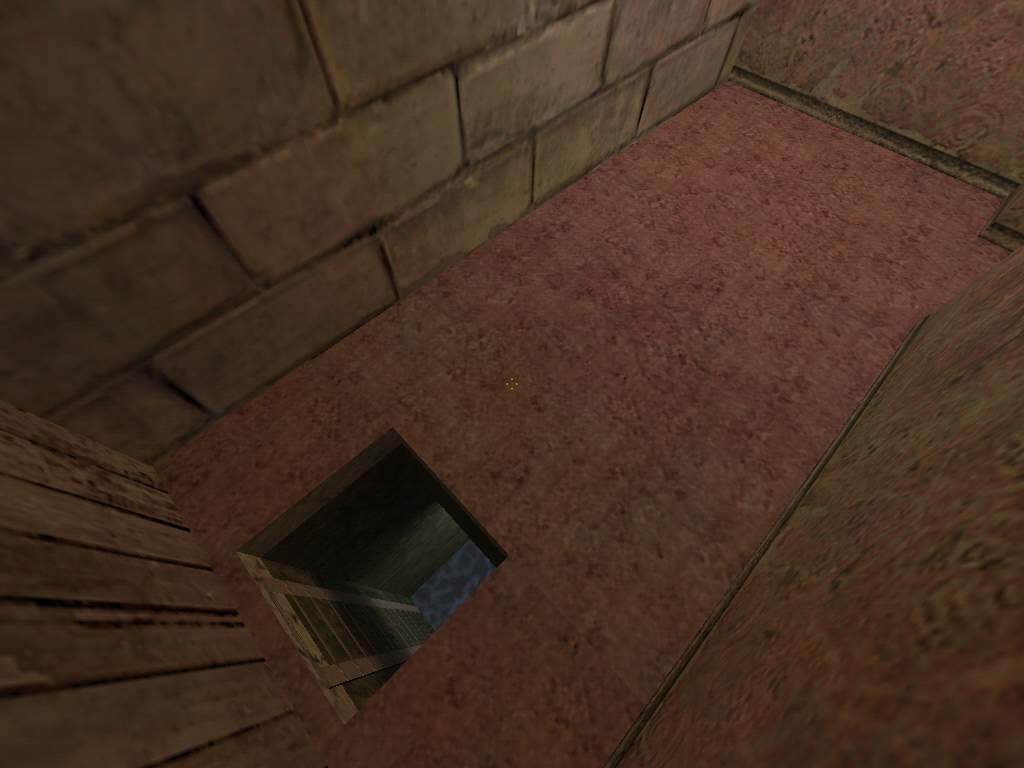
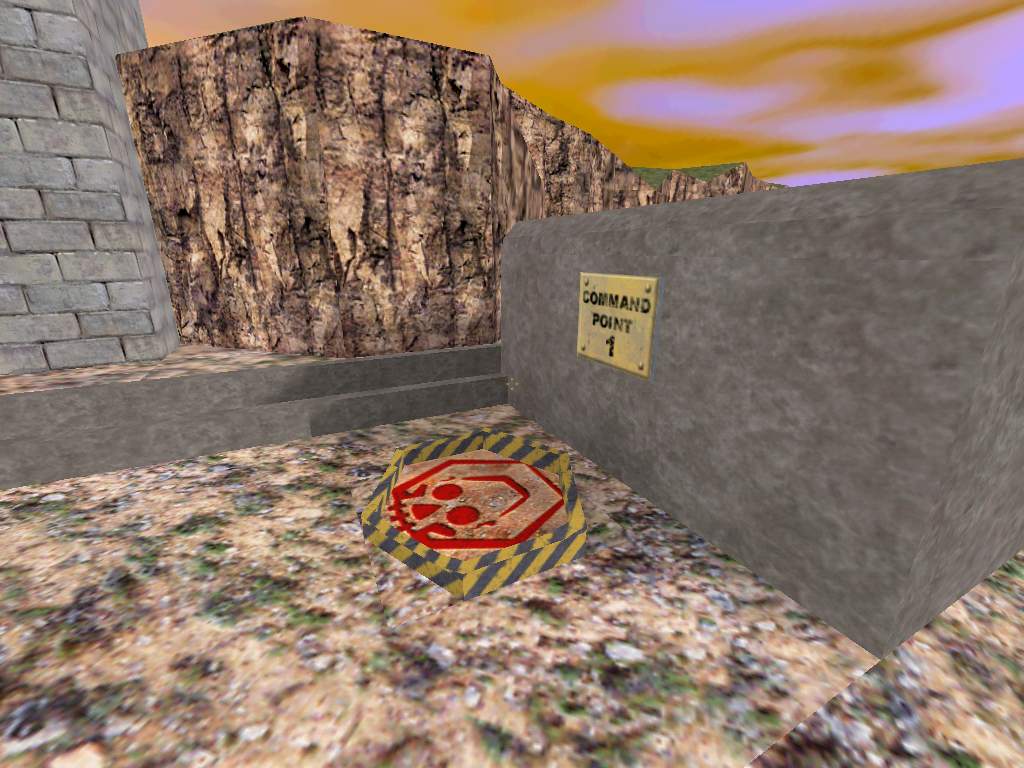
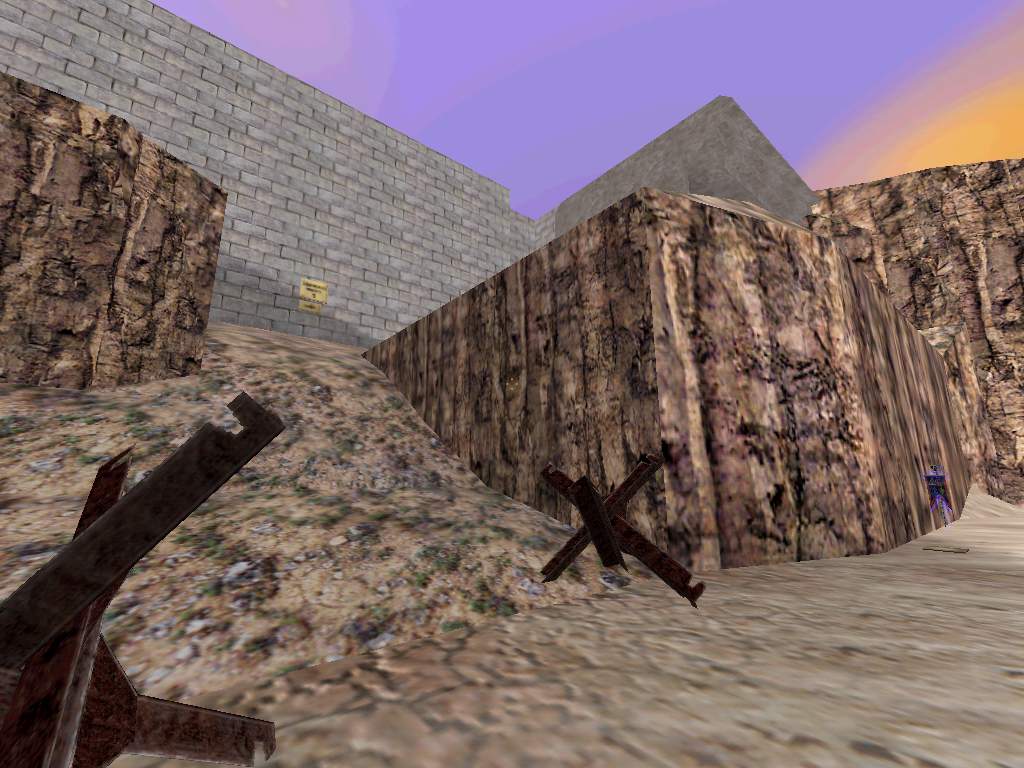
Capture point 1 is behind the bunker. A good defense should be able to hold this area for a few minutes:

Juno: Capture Point 2 (the sewer entrance)

For the quicker (but more easily defended) sewer route to cap 2, attackers enter the house from this ladder. Note how easy this can be defended by a competent demoman, as the route is only wide enough for 1 player at a time:


Once through the house, the attackers get to this window, where they can oversee the cap 2 tank yard. A good spot for a sniper, a skilled attacker can also make a jump through this window onto the cap, but this is usually a heavily defended area:


This final view is of the cap 2 area. It is taken behind a gate (players can't access the area behind the gate, it's there just to add some sense of the map being less enclosed):

Juno: Capture Point 2 (the tank yard)

After capturing the beach, the 2nd capture point takes the attacking team into the castle itself to the tank yard where a couple of panzers sit. From capture point 1 at the beach, there are 2 routes, the main route to the left up the stairs through the main gates, or the faster route through the sewer and house. Here you can see both routes:


The main route takes you through the main castle gate (where a grenade bag sits), and this is the view toward the tank yard once you enter the castle gates:


Here is the same view from the defender's perspective:

Juno: Capture Point 3

Capture point 3 is a very short distance from 2. It was designed as a unique feature to the map, both to give offense an opportunity for a quick cap as well as giving defense a choice in strategy - should engineers defend here or use the time to set up back at the 4th cap? Here is a closeup of cap 3, in the distance is where cap 2 is located:


Here is an overview of the 3rd capture point:


From the capture point, once the flag is capped the tunnel leads towards cap 4. This is also where the defenders come from to defend cap 3:

Juno: Capture Point 4 (det wall entrance)

If you follow the path to the right, you'll end up at the house where a demoman can open up a wall to allow a big jump to the last cap. Here is the outside of the house:


Here you can see inside the room where the sign indicates the wall can be opened by a det pack:


Once the spot is detpacked open, you can see a gap across which are the Juno headquarters where the defenders respawn. This is the launch point where a flag carrier should be boosted across the gap, to the left across the defender's yard onto the cap:


Here is another view where you can see both the launch point and the cap on the right. It makes for a spectacular capture!


Here is a view of the cap 4 yard from the defender's point of view:


Finally, here is what a defending sniper would see from his perch overlooking the breach:

Juno: Capture Point 4 (main entrances)

From cap 3 yard, the left route takes you straight towards the tunnels that lead into the cap 4 yard. The right route takes you to the house where the dettable wall is, where attackers can make a big jump with flag directly to the cap point:


This next picture is the main tunnel leading to the cap 4 yard. This is the defender view from the left exit. At the far end on the right is the entrance from where the attackers come from, and barely visible at the far end on the left is the main exit into the cap 4 yard:


This spot is just back a bit from the previous picture, looking back on the cap 4 yard from the alternate left entrance:


This next shot is across the cap 4 yard at the main tunnel exit where the attackers come from. The capture point is up the stairs around the far side of the building:


From this view at the top of the stairs you can see the Juno headquarters where the defenders respawn in. There is a pair of doors at the front on the ground level, and as well there is a side door where they can exit on top of the castle wall on the right: